Hello everybody, it is Drew, welcome to my recipe site. Today, I’m gonna show you how to prepare a distinctive dish, russian piroshki. It is one of my favorites food recipes. For mine, I’m gonna make it a bit tasty. This is gonna smell and look delicious.
Russian Piroshki is one of the most well liked of recent trending foods in the world. It’s simple, it is quick, it tastes delicious. It’s appreciated by millions daily. They are fine and they look wonderful. Russian Piroshki is something which I have loved my whole life.
Cherry Piroshki Recipe (Russian Pastry Buns) How to Make Traditional Russian Piroshki with Braised Cabbage Filling. These Russian piroshki (or pirojki, or pirozhiki, however you wanna spell it) are stuffed with simple meat and rice mixture and fried till golden brown perfection!
To get started with this particular recipe, we must prepare a few components. You can have russian piroshki using 16 ingredients and 9 steps. Here is how you can achieve it.
The ingredients needed to make Russian Piroshki:
- Get Dough
- Prepare 2 envelope yeast
- Make ready 3 cup whole milk
- Get 1 white flour
- Take 1 buttermilk
- Take 1 tbsp sugar
- Make ready 1 dash salt
- Make ready Filling
- Take 1 lb ground meat - venicine is great but beef or turkey works too
- Make ready 1 dash Worshestire sauce
- Get 1 dash salt
- Take 1 dash pepper
- Get 1 dash soy sauce
- Prepare 1 dash paprika
- Prepare 1 pinch parsley
- Take 2 medium onions
Russian Piroshki with mushroom potato filling-Пирожки. Now owned by Olga Sagan, this family business is nationally renowned for its long lines out the door as guests eagerly anticipate savory and sweet Russian pastries, fresh from the oven. Fried Russian Meat Piroshki Recipe (buns) with a meat filling. Piroshki are yeast dough buns with a filling and are either baked or fried.
Steps to make Russian Piroshki:
- Warm milk to about 110°F - so it's warm to the touch, but not boiling!
- Add yeast to warm milk, wisk well
- Add salt, sugar, and a few tablespoons flour, wisk together well
- Let sit in a warm place, prehearing your oven to 200 and then turning it off works pretty well. Let sit at least an hour, up to five of you have the time
- Then comes the fun part, start adding flour, and splashes of warm buttermilk. Work the dough with your hands until it becomes solid and elastic, and not too sticky. While working the dough, hold a chunk of room temperature butter in your hand
- I know the butter on the fist is a tad unorthodox but my grandmother promises it's the best way and the dough came out amazing
- For the filling, simply saute the meat and the onions, add the spices, and you're good to go. If the meat is fatty, drain off some fat.
- Lots of other filling options will work - mashed potatos with fried onions, hard boiled eggs with green onions and mustard, or just some strawberry jam.
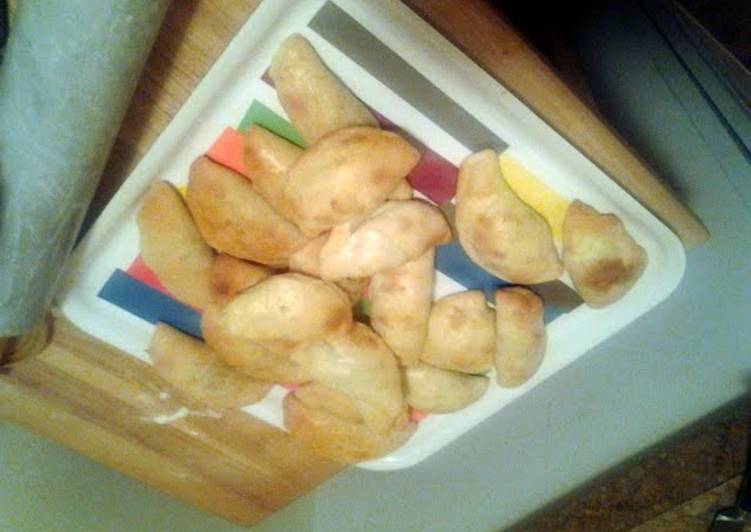
- Brush with a whisked egg. Bake for about twenty minutes at 375° F until golden brown.
They can vary in shapes and sizes. Piroshki (pronounced PIR-oh-sch-KI) means 'little pirog' or 'little pie'. A Russian pirog (pie) can have a sweet or savory fillings. Russian Piroshki with Beef & Potato fillings. Irina Utkina cooking piroshki as part of the marathon "Dishes of Russian cuisine"! Подробнее.
So that is going to wrap this up for this special food russian piroshki recipe. Thanks so much for your time. I’m confident you can make this at home. There is gonna be more interesting food at home recipes coming up. Don’t forget to bookmark this page on your browser, and share it to your loved ones, friends and colleague. Thank you for reading. Go on get cooking!